Drilling a water well is a managed project, not a single event. From your first call to clean water at the tap, a typical residential well runs through a handful of clear stages: a free site evaluation, the groundwater-district paperwork, the actual drilling, setting and grouting the casing, developing the well, installing the pump and pressure system, and finally sanitizing and testing before the well goes into service. Here is what each step looks like when you have never done this before.
Step 1: Free site evaluation and choosing where to drill
It starts with a visit. We walk your property, look at the lay of the land, and talk through where you want water and where a rig can reasonably reach. Siting a well is part geology and part common sense. We are reading the terrain, factoring in known aquifer behavior in your area, and keeping the well a safe distance from septic systems, livestock pens, and property lines. Because depth varies so much across the region, we will also give you a realistic idea of how deep your well is likely to run based on what the surrounding ground has produced. This is also when you get a straight, no-pressure quote on the full drilling project.
Water trouble now, or planning ahead? Tell us what your well is doing and we will give you a straight answer and a free quote, often the same day.
Step 2: The permit or registration (we handle it)
Almost everywhere in the Hill Country, a new well needs a permit or a registration with the local groundwater conservation district before drilling begins. The good news is that you do not have to navigate that yourself. As a licensed Texas driller, we file the paperwork for you, including spacing and depth details the district asks for. If you want to understand the process, we explain the difference between a permit and a registration and help you figure out which groundwater district your property sits in. District review time is often the part that adds the most calendar days, which is why we start it early.
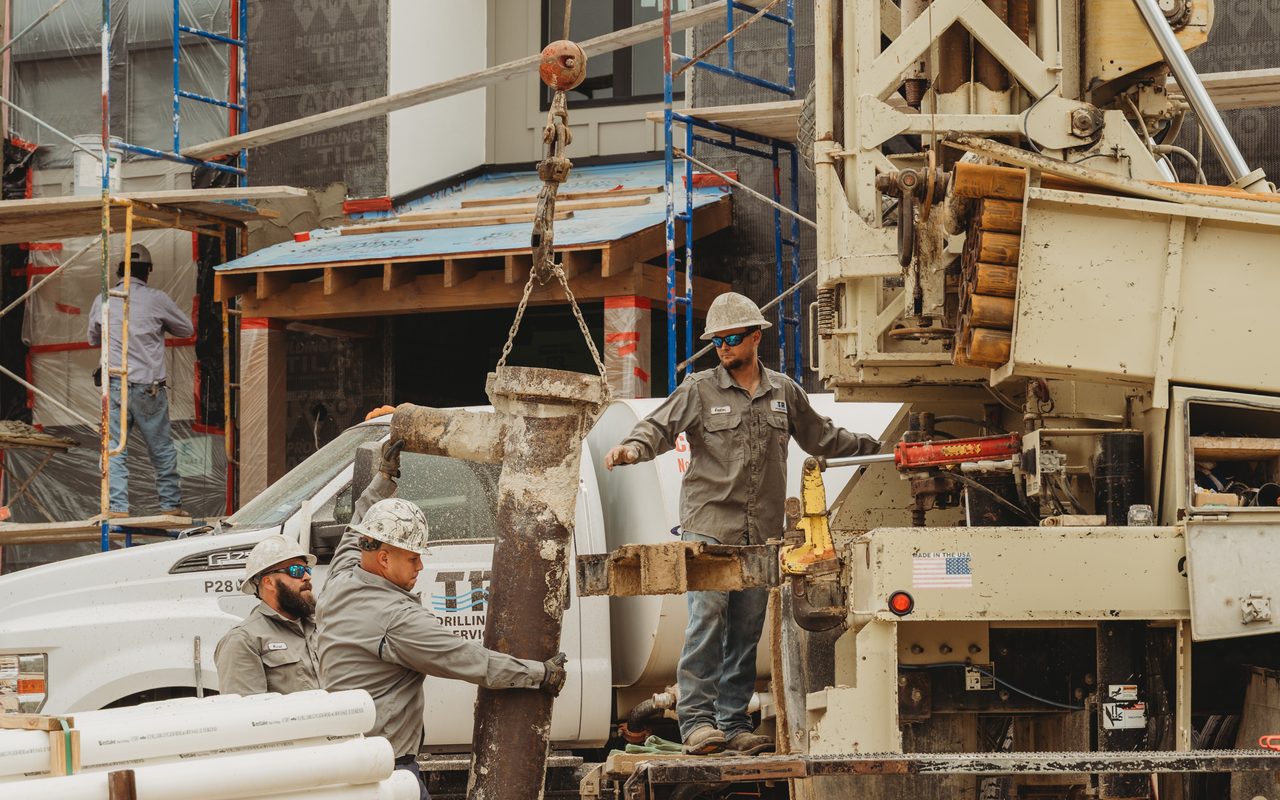
Step 3: The rig arrives and drilling begins
On drilling day, the rig and support trucks come to the site you approved. Most Hill Country wells are drilled with an air-rotary rig that hammers through limestone and dolomite to reach the water-bearing zone below. You will see cuttings (rock chips and dust) come up out of the hole as we go, and our crew watches those closely. The changes in the rock and the first signs of water tell us when we have reached a productive zone in the Trinity, Edwards, Edwards-Trinity, or Hickory aquifer under your tract.
Step 4: Setting and grouting the casing
Once the borehole is down, we install steel or PVC casing to keep the hole open and keep surface water, bugs, and contaminants out of your drinking water. The space between the casing and the rock gets sealed with grout, which is a required safeguard that protects both your well and the aquifer everyone in the area shares. This step is exactly why a licensed driller matters. Casing and grouting done right is the difference between a clean, long-lived well and one that gives you trouble for decades.
Step 5: Developing the well
After the casing is set, we develop the well, which means clearing out the fine sediment and drilling debris and opening up the cracks and fractures that feed water into the borehole. Developing a well lets us measure how much water it actually yields, so we size the rest of the system to match what your well can sustainably produce.
Step 6: Installing and balancing the pump and pressure system
A hole full of water is not running water yet. Next we set the pump at the right depth, run the wiring and drop pipe, and connect the pressure tank and controls that deliver steady water to your house. Sizing matters here: the pump has to match your well yield and your household demand so you get reliable pressure without overworking the equipment. Our pump installation page walks through how we match the pump to the well.
Step 7: Sanitizing and testing before it goes into service
Before you ever drink from it, we disinfect the well to clear out anything introduced during construction, then flush it and confirm the system is delivering clean, clear water at good pressure. This final check is how we hand you a well you can trust on day one.
How long does the whole thing take?
People are often surprised that the drilling itself is usually fast. The active drilling on a typical residential well is frequently a small number of days. What stretches the overall timeline is everything around it: scheduling the site visit, the district permit or registration review, and the pump and pressure system installation after the hole is finished. From signed quote to water at the tap, a straightforward residential project commonly runs a few weeks, with the district review being the biggest variable. We will give you a realistic schedule up front and keep you posted as we go.
What about rough or remote property?
Steep grades, narrow ranch roads, cedar, and rocky tracts are normal out here, and they rarely stop us. We have been getting rigs onto difficult Hill Country acreage since 1985, and we will scout access during the site visit so there are no surprises on drilling day. If a spot truly cannot be reached, we will tell you honestly and help you find the next best location for both access and water.
If you are weighing a new well and want a clear picture of the steps, the timeline, and the financing options available, we are glad to walk your property and talk it through with no pressure.